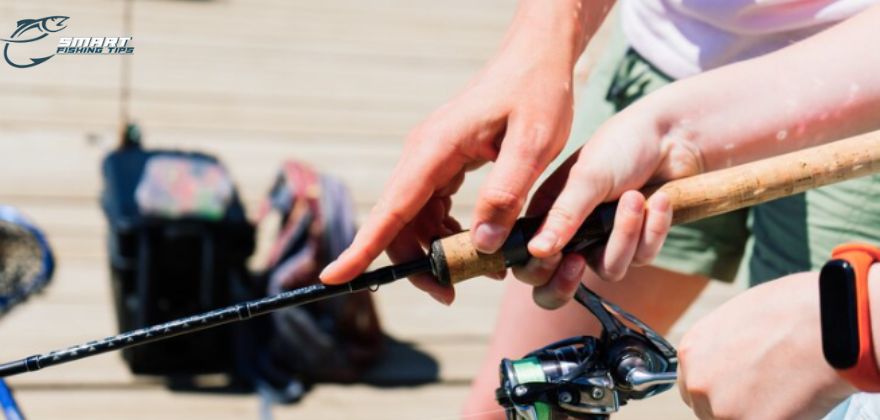
Whether you are a beginner or an experienced angler, it’s essential to keep your fishing gear in good condition for optimal performance. One crucial component of a fishing rod is the guide, which helps to guide the fishing line during casting and retrieving. Over time, fishing rod guides can wear out or get damaged, requiring replacement. In this article, we will provide you with a step-by-step guide on how to replace a fishing rod guide, ensuring you can get back to fishing in no time.
How to Replace Fishing Rod Guide
Replacing a fishing rod guide may seem like a daunting task, but with the right tools and techniques, it can be a straightforward process. Follow the steps below to replace a fishing rod guide effectively:
Step 1: Gather the necessary tools
Before you begin the replacement process, make sure you have the following tools:
- Replacement fishing rod guide
- Epoxy adhesive
- Razor blade or sharp knife
- Sandpaper (fine-grit)
- Small pliers or tweezers
- Clean cloth or paper towels
Step 2: Remove the old guide
To remove the old fishing rod guide, follow these steps:
- Start by heating the old guide’s thread wraps with a heat source to soften the adhesive. Be careful not to overheat or damage the fishing rod blank.
- Use the pliers or tweezers to grip the guide’s foot firmly.
- Gently twist and pull the guide until it comes loose from the fishing rod blank.
- Use a razor blade or sharp knife to remove any remaining thread wraps and adhesive residue. Be cautious not to scratch or damage the blank.
Step 3: Prepare the replacement guide
Now that you have removed the old guide, it’s time to prepare the replacement guide:
- Take the replacement guide and check if it matches the size and style of the old guide. Ensure it has the same number of feet and is suitable for the type of fishing you do.
- If necessary, use sandpaper to remove any rough edges or imperfections on the replacement guide.
Step 4: Attach the replacement guide
Follow these steps to attach the replacement guide to your fishing rod:
- Apply a small amount of epoxy adhesive to the guide’s foot.
- Position the guide in the desired location on the fishing rod blank, aligning it with the other guides.
- Press the guide firmly onto the blank, ensuring it makes good contact with the adhesive.
- Use your fingers or a clean cloth to wipe away any excess adhesive that may have squeezed out.
Step 5: Re-wrap the guide
Once the adhesive has fully cured, it’s time to re-wrap the guide:
- Cut a length of thread slightly longer than the guide’s foot.
- Hold one end of the thread against the blank, just below the guide’s foot.
- Start wrapping the thread around the blank and guide foot in a tight, overlapping pattern.
- Continue wrapping until you reach the desired length or the manufacturer’s recommendation.
- Tie off the thread with a double knot and trim any excess with a razor blade or sharp knife.
- Apply a small amount of epoxy adhesive to the thread wraps to secure them in place.
- Allow the adhesive to cure fully before using your fishing rod.
FAQs about Replacing Fishing Rod Guides
A: The frequency of guide replacement depends on various factors such as usage, fishing conditions, and maintenance. However, if you notice any significant damage or wear on your guides, it’s best to replace them promptly to ensure optimal performance.
A: Replacing a fishing rod guide is a task that can be done by most anglers. With the right tools and proper technique, you can successfully replace a guide yourself. However, if you feel uncomfortable or unsure, it’s always best to seek assistance from a professional rod builder or repair shop.
A: No, fishing rod guides come in various sizes, materials, and designs. It’s important to choose a guide that is suitable for your fishing style and the type of line you use. Different guides offer different benefits, such as increased casting distance or reduced line friction.
A: In most cases, it’s best to replace the guide entirely. Reusing the old guide may not provide the same level of performance and durability as a new one. Additionally, the old guide may have adhesive residue or other damage that could affect its functionality.
A: Yes, regular maintenance can help extend the life of your fishing rod guides. After each fishing trip, rinse your rod with freshwater to remove any salt, sand, or debris that may have accumulated. Inspect the guides for any signs of damage and repair or replace them as needed.
A: Replacement fishing rod guides can be found at fishing tackle stores, online retailers, and specialized rod building suppliers. Make sure to choose guides that are compatible with your fishing rod’s specifications.
