Fishing is not just a sport; it’s a way to connect with nature, unwind, and possibly reel in some fantastic catches. However, before you cast your line, you need to know the basics of threading a fishing rod. In this guide, we’ll take you through the step-by-step process of setting up your fishing rod for a successful and enjoyable fishing experience. Fishing is an age-old practice that has evolved over time. Whether you’re a novice angler or looking to improve your skills, threading a fishing rod is the first step toward a successful fishing outing. Properly setting up your fishing rod ensures that your line is secure, your bait is enticing, and you’re ready to catch the big one.
Understanding Your Fishing Gear
Before you dive into threading your fishing rod, it’s essential to familiarize yourself with the various components of your fishing gear. Fishing rods come in different types, lengths, and materials, each designed for specific fishing styles. Your reel, lines, hooks, and baits all play critical roles in your fishing success.
Preparing for Threading
Selecting the right fishing spot is crucial for a productive fishing trip. Look for areas with active fish populations and suitable fishing conditions. Once you’ve chosen your spot, clean your fishing rod to remove any dirt or debris that may affect your fishing experience. Additionally, selecting the appropriate fishing line based on the type of fish you’re targeting is essential.
Threading Your Fishing Rod
Attaching the Reel
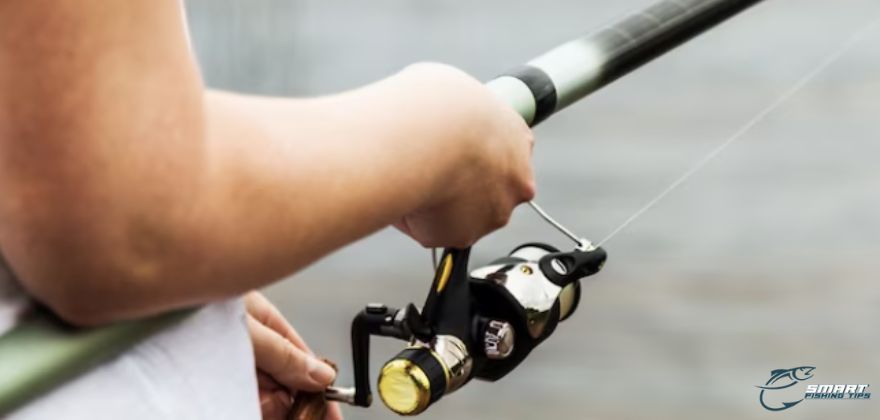
Begin by attaching your reel to the reel seat of the fishing rod. Secure it firmly using the provided locking mechanisms. Make sure the reel handle is on the side that’s most comfortable for you.
Stringing the Line
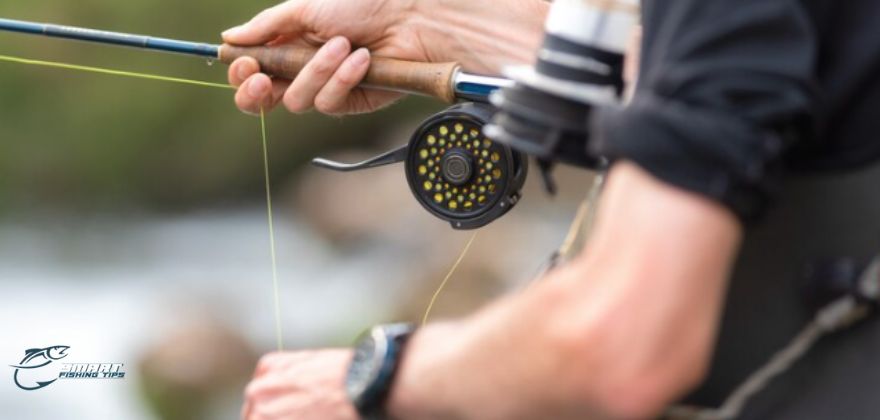
Carefully thread the fishing line through the rod’s line guides starting from the tip and working your way down to the reel. Ensure the line is properly seated in each guide to prevent tangling.
Tying the Knot
Tie a strong and reliable knot to secure the line to the reel’s spool. A common knot used is the arbor knot. Tighten the knot and trim any excess line.
Adding the Hook and Bait
Attach your selected hook and bait to the end of the fishing line. The type of hook and bait you choose will depend on the fish you’re targeting and the fishing technique you’re using.
Testing and Adjusting
Testing the Line
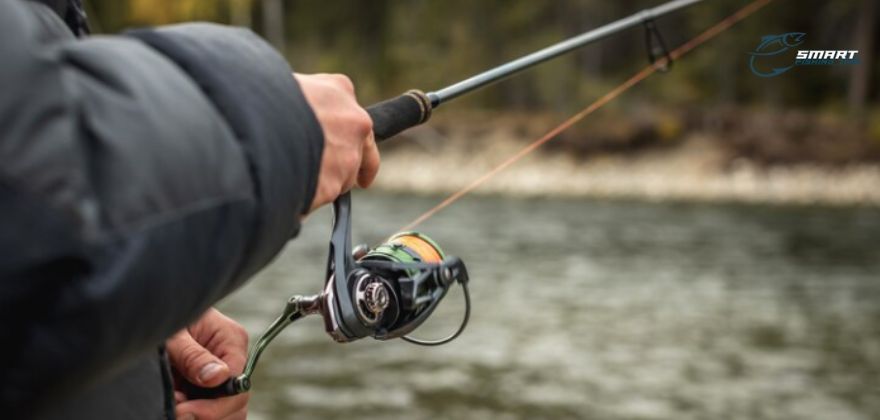
Before you cast, test the line’s tension and movement by pulling a few yards of line off the reel. Ensure it flows smoothly without tangling or catching.
Adjusting the Drag
The drag system on your reel controls the resistance a fish feels when it pulls the line. Adjust the drag according to the size of the fish you’re targeting.
Checking the Setup
Inspect your entire setup to ensure everything is secure and properly aligned. A well-threaded fishing rod decreases the chances of tangles and lost catches.
Casting Your Line
Mastering the Casting Technique
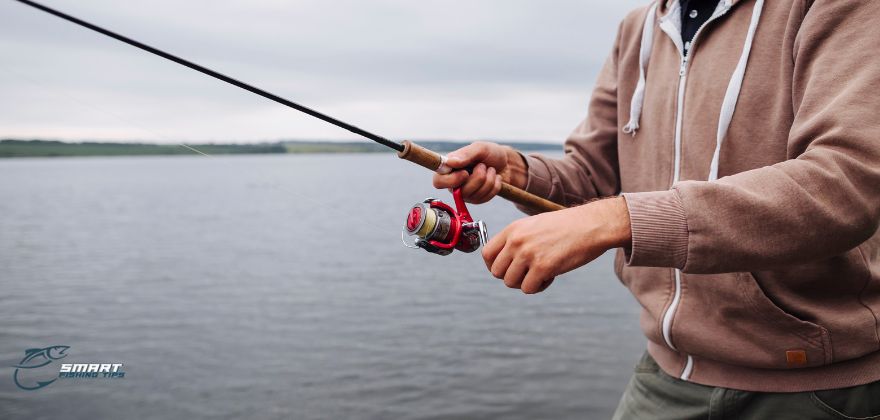
Hold the fishing rod in your dominant hand and the line in your other hand. With a smooth motion, release the line as you swing the rod tip forward.
Letting Out the Line
Allow the line to unravel gradually as the bait or lure lands on the water’s surface. Avoid casting too forcefully, as this can lead to tangles or backlashes.
Reeling In and Catching Fish
Feeling the Bite
Pay close attention to the sensation on the line. If you feel a tug or a subtle movement, a fish might be biting. Get ready to set the hook.
Setting the Hook
When you feel a bite, swiftly jerk the rod tip upward to set the hook firmly in the fish’s mouth. This action increases your chances of a successful catch.
Reeling in the Fish
Maintain a steady but controlled motion as you reel in the fish. Keep the line taut and avoid excessive force that could cause the line to break.
Landing and Releasing the Fish
Once you’ve successfully reeled in the fish, carefully bring it closer to the shore or boat. Use a net or your hands to secure the fish. If you’re practicing catch and release, handle the fish gently and release it back into the water.
Maintenance and Storage
Cleaning Your Gear
After your fishing adventure, clean your fishing rod, reel, and other gear with freshwater to remove salt and debris. This helps prolong the lifespan of your equipment.
Removing the Line
If you’re storing your gear for an extended period, consider removing the fishing line to prevent it from becoming tangled or compromised.
Conclusion
Threading a fishing rod may seem intricate, but with practice, it becomes second nature. Properly setting up your gear enhances your chances of a successful fishing experience, whether you’re angling for relaxation or aiming for a prized catch. Remember, each fishing trip is a learning opportunity, so don’t hesitate to refine your technique over time.
Fish are more active during dawn and dusk, so many anglers find those times ideal for fishing. However, the best time can vary depending on the location and fish species.